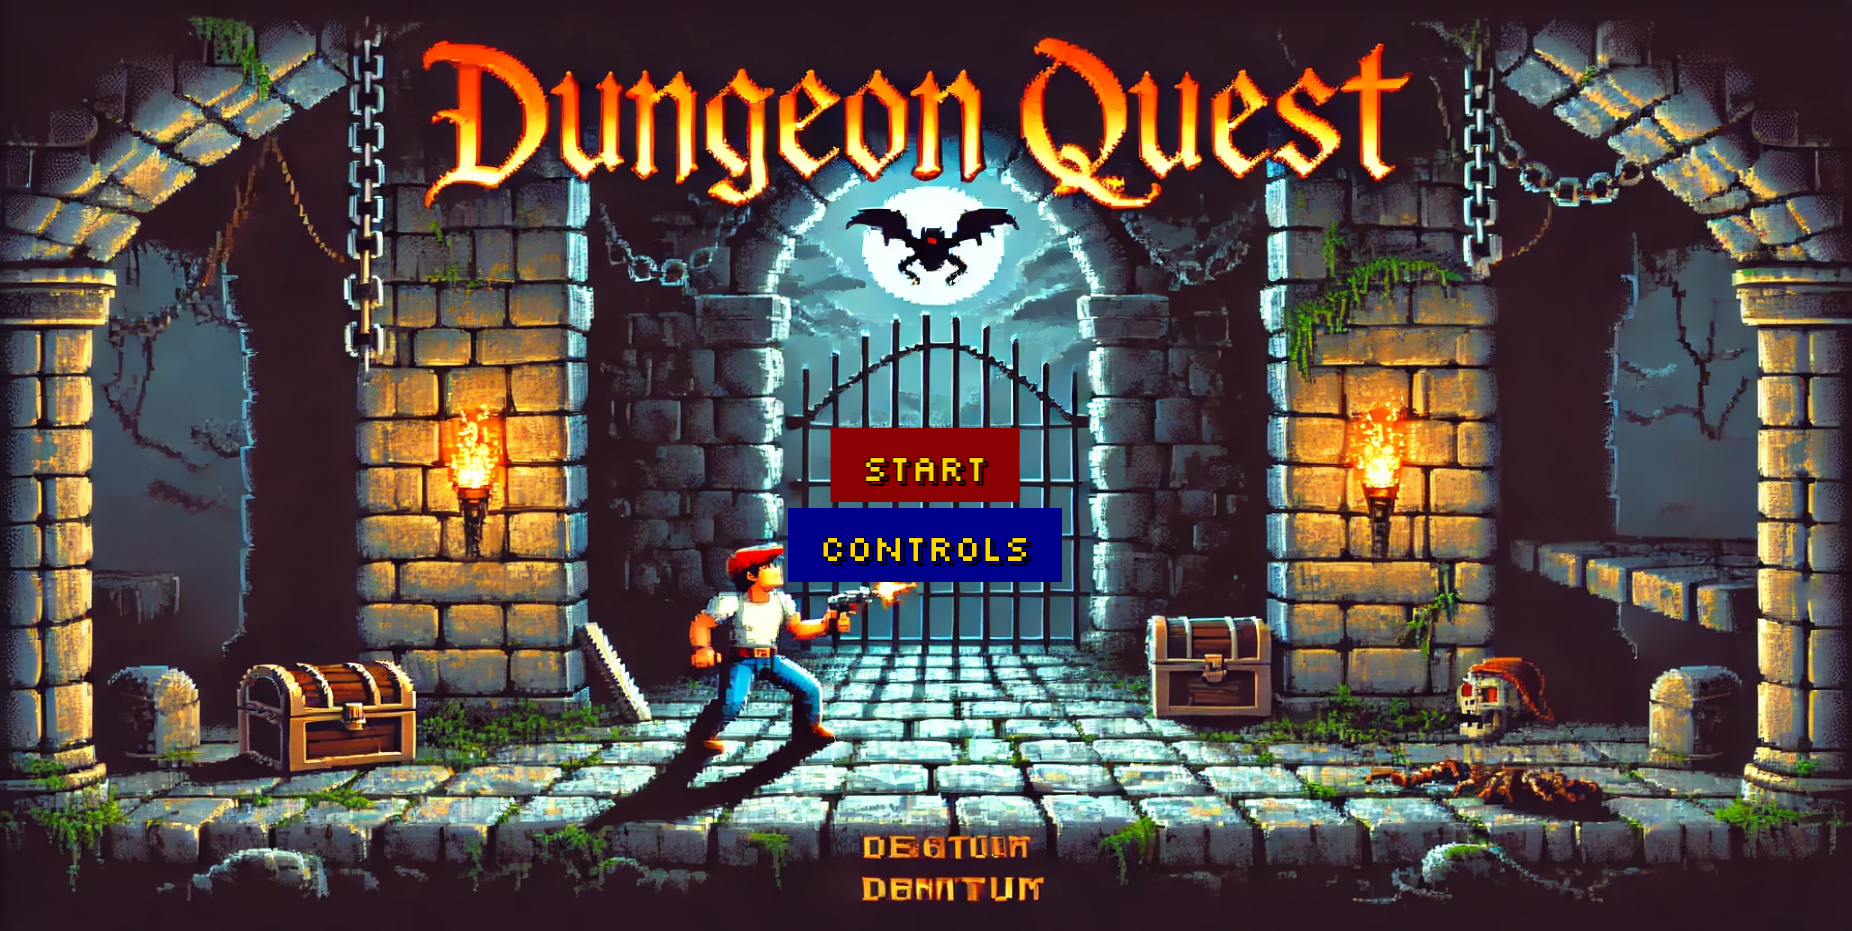
Dungeon Quest: A Vertical Platformer game
Exploring the tech stack behind Dungeon Quest - a fascinating blend of React, Phaser, and Three.js for modern game development.
Dungeon Quest: A Phaser-Powered Adventure Game
Introduction
Dungeon Quest is an exciting 2D platformer game built with Phaser 3, featuring three progressively challenging levels with unique mechanics. The game follows a hero's journey through dangerous dungeons filled with hazards, collectibles, and enemies. Play Dungeon Quest here
Creating Maps with Tiled
One of the most powerful aspects of Dungeon Quest is its use of Tiled maps for level design. Here's how we structured our maps:
Map Layers Organization
Each level uses three primary layers:
- Background - Decorative elements with no collision
- Ground - Platforms and walkable surfaces with collision
- Collectibles - Items players can gather
- Hazards (Levels 2-3) - Dangerous elements that kill the player
Tile Properties
We made extensive use of Tiled's custom properties:
{
  "collides": true, // For ground tiles
  "collectible": true, // For items
  "isExit": true // For door tiles
}
Exporting for Phaser
Key steps for Tiled-to-Phaser workflow:
- Export as JSON (right-click layer → Export As)
- Use consistent tileset naming between Tiled and Phaser
- Set tile dimensions to match game constants (92×89 in our case)
- Enable "Embed tilesets" option for easier asset management
Optimization Tips
- Use object layers for precise item placement
- Create reusable template maps for similar level sections
- Use tile animations within Tiled for simple effects
Creating Sprite Sheets with GIMP
All character and item sprites were created using GIMP following this workflow:
Sprite Sheet Preparation
- Create a new image with dimensions that are powers of 2 (e.g., 512×512)
- Enable grid view (View → Show Grid) matching your sprite dimensions
- Set up guides for consistent sprite spacing
Animation Frames
For animated sprites like the player character:
- Create each frame as a separate layer
- Name layers sequentially (frame-01, frame-02, etc.)
- Use onion skinning (View → Show/Hide Onion Skin) to maintain consistency
Export Process
- Merge visible layers when complete
- Export as PNG with transparency
- Create a matching JSON descriptor for Phaser:
{
  "frames": {
    "run-01": { "frame": { "x": 0, "y": 0, "w": 64, "h": 64 } },
    "run-02": { "frame": { "x": 64, "y": 0, "w": 64, "h": 64 } }
  }
}
Pro Tips
- Always work at 2-4x final resolution then scale down
- Use indexed color mode for retro-style graphics
- Maintain consistent lighting across all sprites
- Create a color palette .gpl file for uniform colors
Game Architecture
The game is structured around three main scenes:
- Level1Scene.ts - The introductory level with basic platforming mechanics
- Level2Scene.ts - Adds environmental hazards and animated tiles
- Level3Scene.ts - Introduces advanced mechanics like weapons, jetpacks, and enemy AI
Key Features
Core Mechanics
- Physics-based movement with precise controls
- Tilemap-based levels designed in Tiled
- Collectible system with different point values
- Progressive difficulty across levels
Level 1 Highlights
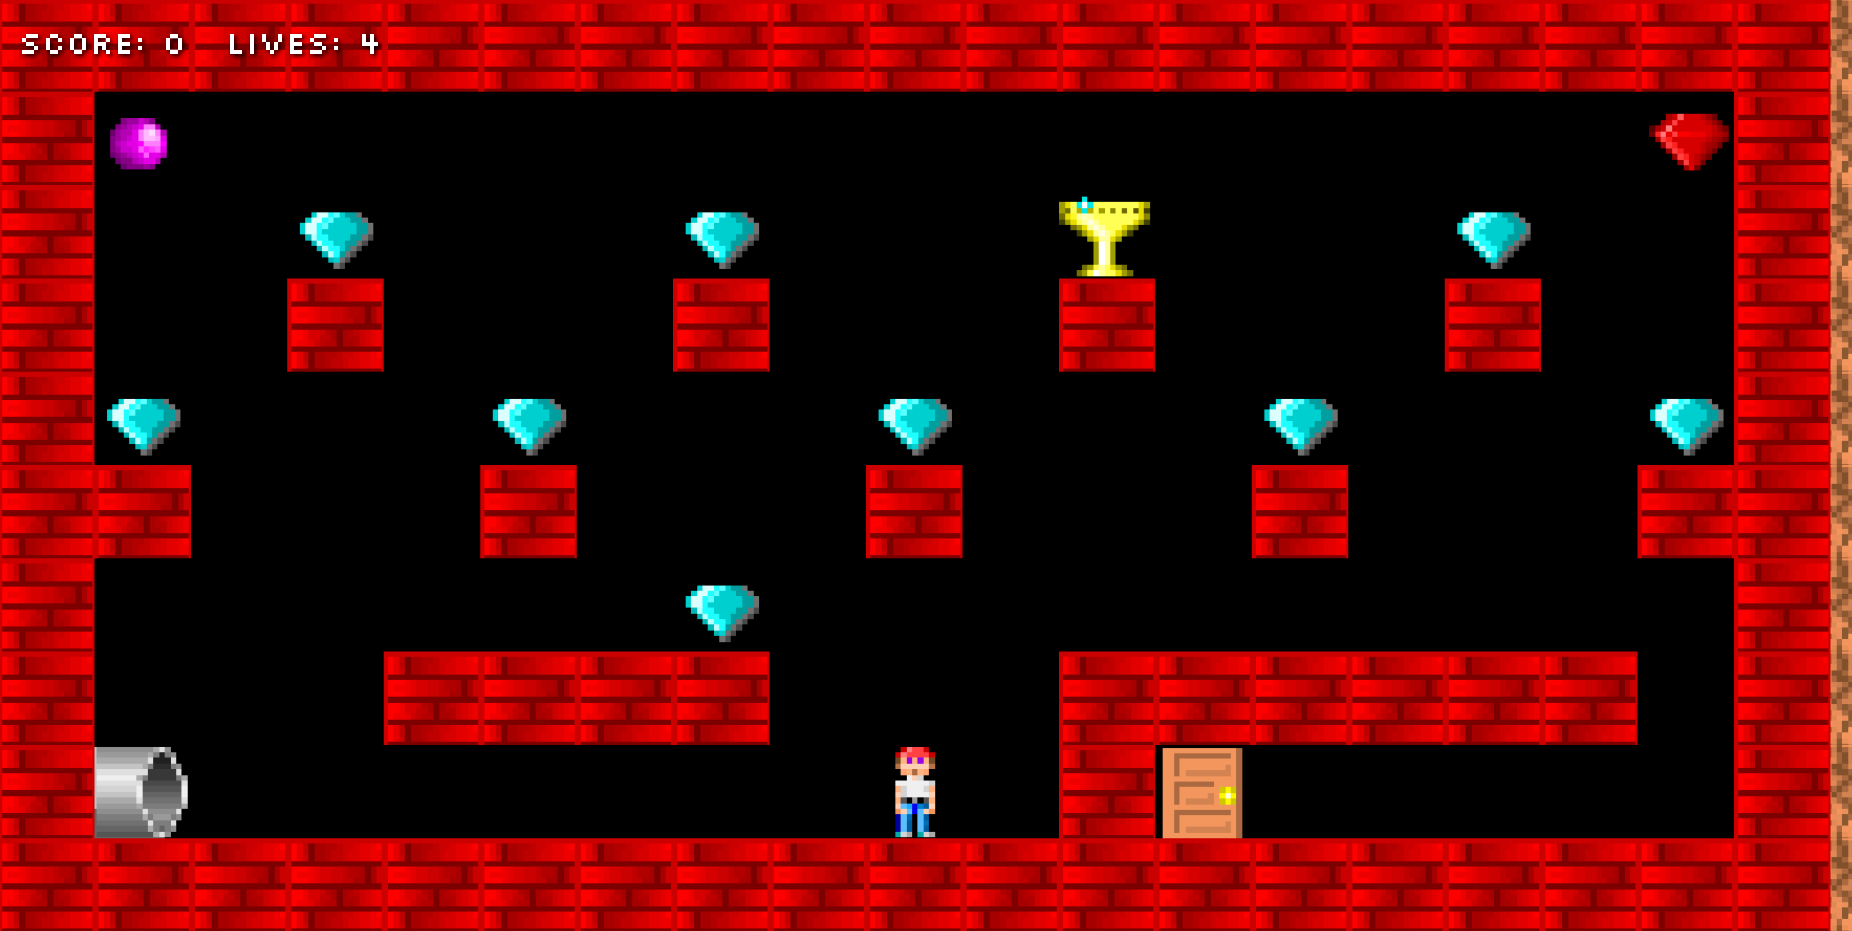
- Basic platforming with run, jump, and fall mechanics
- Collectible gems and a special cup item
- Simple collision detection with ground layers
- Camera follow with deadzone for smooth movement
// Example from Level1Scene.ts
private createPlayer() {
  this.player = this.physics.add.sprite(
    this.TILE_WIDTH * 9.5,
    this.TILE_HEIGHT * 8,
    "player"
  );
  this.player.setGravityY(this.gravity);
  this.player.setBounce(0.1);
}
Level 2 Enhancements
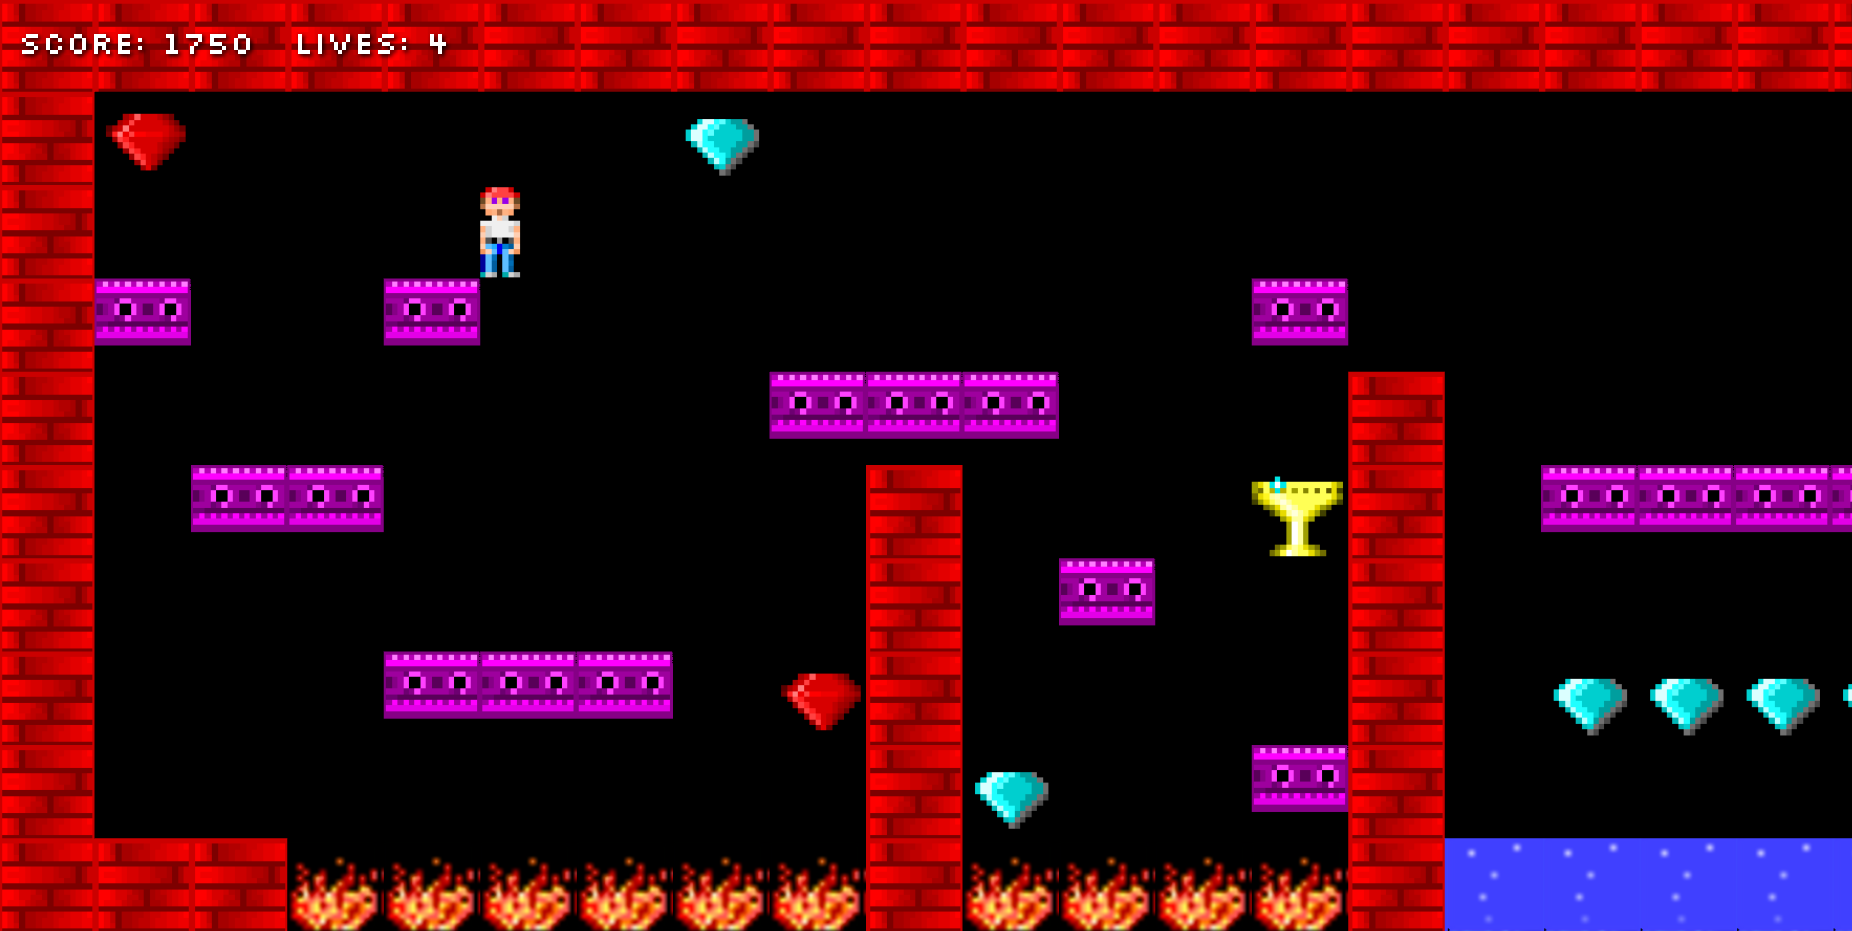
- Animated hazards (fire, water, tentacles)
- More complex level design
- Improved death animations
- Persistent score tracking between levels
// Example from Level2Scene.ts
private replaceAnimatedTiles() {
  // Replaces static hazard tiles with animated sprites
  const sprite = this.add.sprite(x, y, "DaveFire").play("fireAnimation");
}
Level 3 Advanced Features
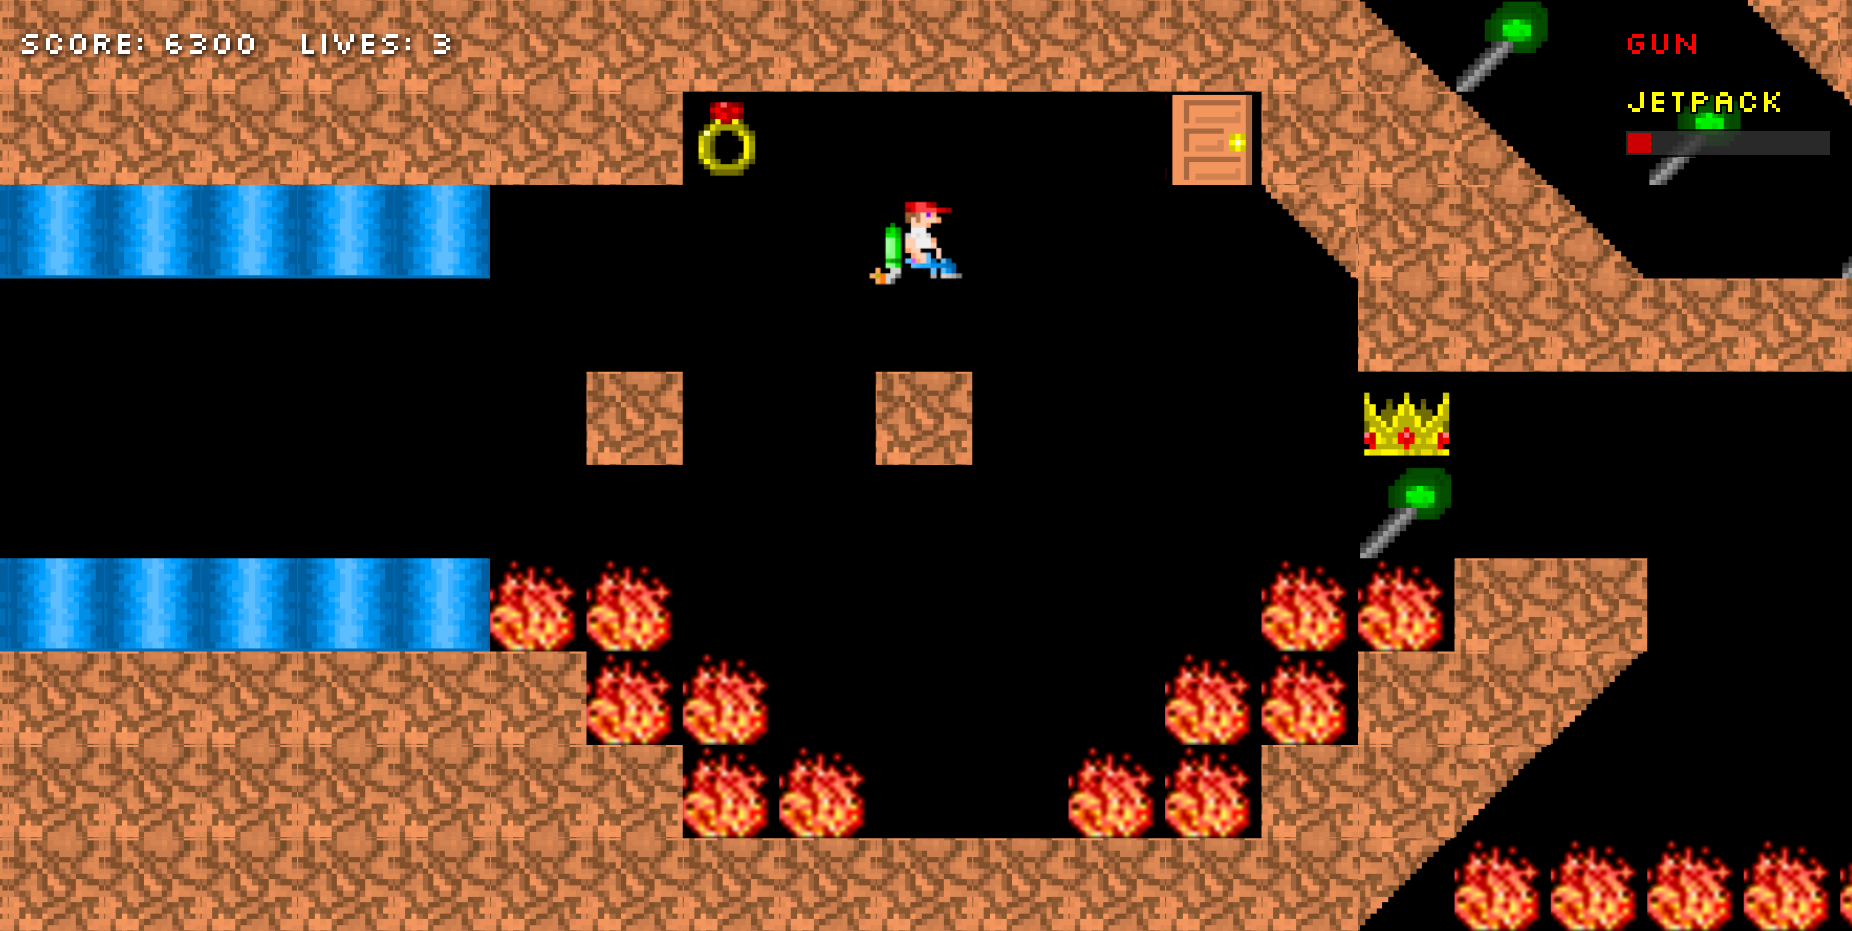
- Weapon system with gun power-up
- Jetpack mechanics with fuel management
- Enemy AI with patrol patterns and missile attacks
- Complex HUD showing power-up status
- Multiple power-ups with different effects
// Example from Level3Scene.ts
private handleJetpack() {
  if (this.hasJetpack && this.jetpackFuel > 0) {
    this.player.setVelocityY(-this.playerSpeed * 0.7);
    this.consumeFuel();
  }
}
Technical Implementation
Sound Management
- Context-aware sound effects (running, jumping, collecting)
- Sound throttling to prevent spamming
- Proper cleanup on scene transitions
Physics System
- Arcade physics for collision detection
- Custom hitboxes for precise interactions
- Gravity and velocity controls for different mechanics
UI System
- DOM-based HUD elements
- Visual indicators for power-ups
- Jetpack fuel bar with color coding
Development Challenges
- Scene Transitions: Implementing smooth transitions between levels while preserving game state
- Power-up Management: Tracking multiple power-ups with different behaviors
- Performance Optimization: Handling large tilemaps and multiple animated elements
- Cross-Platform Controls: Ensuring consistent behavior across different input methods
Lessons Learned
- The importance of proper scene cleanup to prevent memory leaks
- How to effectively use Phaser's tilemap system for complex levels
- Techniques for managing game state across multiple scenes
- Best practices for mixing DOM and canvas-based UI elements
Future Improvements
- Adding more levels with unique mechanics
- Implementing a save/load system
- Adding mobile touch controls
- Expanding the enemy variety and behaviors
Conclusion
Dungeon Quest demonstrates how Phaser 3 can be used to create a full-featured 2D platformer with progressive complexity. The game's architecture shows a clear evolution from simple platforming to complex mechanics, making it an excellent example for developers looking to build similar games.
Would you like to see any particular aspect of the game explored in more detail? The weapon system, jetpack mechanics, or enemy AI might make interesting deep-dive topics for future posts!